Picture this: you’re scrolling through an endless feed of beautiful handmade jewelry. Maybe you spot a boho bracelet that matches your friend’s vibe, or a quirky pair of earrings you know would thrill your mom on her birthday. You wonder, “Could I actually make something like that?” The truth is, yes! Getting into jewelry making isn’t strictly for the Martha Stewart crowd or people with a mini-workshop in their basement. You need a bit of patience, some curiosity, and the right supplies. As someone who watched my wife Maya go from stringing seed beads at our dining table to gifting custom pieces to half her friends, I’ve realized that starting with the right basics can make or break your jewelry DIY journey. Even if your fingers aren’t the nimblest or you haven’t touched a pair of pliers since high school, you might surprise yourself with what you can create—and how addicting it becomes.
Starter Kit: Gathering Your Must-Have Jewelry Tools
So, what do you really need when you set out to make your own jewelry? The right tools can help you hit the ground running and keep you from turning a fun project into a frustrating mess. You don’t need a $500 starter kit filled with things you won’t touch—think about a simple, affordable core set.
First, grab a set of basic jewelry pliers. Three pairs can take you incredibly far: round-nose pliers for loops and curves, chain-nose pliers for gripping or opening jump rings, and flush cutters for snipping wire or string. These aren’t fancy, but once you’ve used them a few times, you’ll wonder how you lived without them. And make sure they fit your hand comfortably—tools that cramp your fingers will drive you away from the fun fast.
Next, a bead mat or soft towel keeps tiny findings from rolling across the floor (and saves you from crouching under the couch with a flashlight). Storage isn’t just for show—small boxes or pill organizers keep your beads and findings separated and untangled.
Speaking of findings, you’ll want starter packs of ear wires, headpins, jump rings, and clasps. Brands like Beadalon and Cousin make mixed kits perfect for beginners. One pro tip: always buy a little more than you need, because nothing cramps your creativity like running out of ear wires mid-project.
A good ruler (flexible plastic ones are great) and a permanent marker or scriber for marking cuts help with precision. Toss in some wire straighteners, an awl for poking holes, and super-basic crimping pliers for finishing off bracelets or necklaces. And don’t forget the world’s most overlooked tool: a strong pair of reading glasses or a magnifying loupe, unless your eyesight is superhero level.
Essential Supplies: Beads, Wires, and Beyond
The world of jewelry supplies is massive—rows of sparkling beads, mystery rolls of wire, endless packs of novelty charms. For a beginner, it’s way too easy to get lost and spend your entire paycheck before making your first pair of earrings. Start simple and build from there.
First, choose a basic bead mix. Glass seed beads are cheap and come in every imaginable color. If you want your designs to feel less craft-fair and more chic, check out Czech glass, gemstone chips, or wooden beads for a boho vibe. For earrings, small gemstones with drilled holes can instantly elevate your look—just steer clear of plastic beads at first; they tend to cheapen your finished projects.
Wire will be your best friend. You won’t need thick stuff—20-gauge or 22-gauge wire in silver or gold tone is perfect for connecting beads, making loops, or even crafting simple hoops. Artistic or copper wire works well for beginners and won’t cost a fortune. If you’re stringing beads, grab spools of memory wire or beading wire (brands like Soft Flex or Tigertail are flexible and durable). For stretchy bracelets, pick up clear elastic cord (Stretch Magic is sturdy and forgiving for first-timers).
Basic findings are must-haves. Stock up on: lobster clasps, jump rings in a few sizes, eye pins and head pins for dangling beads, earring hooks, and a pack of crimp beads for finishing off your stringing projects. There are also decorative bead caps and spacers that can turn something simple into something “wow.”
As you experiment, you’ll discover favorites and know what colors or textures call out to your own style. Don’t be afraid to raid old necklaces, charity shop finds, or even hardware store parts—Maya once made an entire charm bracelet out of tiny vintage keys and it became her signature piece for months.
Learning the Techniques: From Basic to Bold
Having supplies in hand is awesome, but knowing what to actually do with them is the next chapter. The good news is that beginner techniques are way less intimidating than you might think, and YouTube has a how-to for pretty much every process—no need for formal classes or expensive workshops.
Start by learning a simple wire loop. This one move unlocks earrings, bracelets, and pendant necklaces. Use your round-nose pliers to curl the very end of a cut piece of wire, slip on your bead, then curl the other end for an easy charm. Don’t stress if your first few are wonky; even professional jewelers sometimes redo loops ten times before they’re perfect.
Stringing beads is basically meditation. Grab a length of beading wire, string your design, then finish each end with a crimp bead and clasp. Mastering crimping is a rite of passage in jewelry circles—too loose and the beads slip everywhere; too tight and your wire kinks like a phone cord (well, for anyone old enough to remember those). If you use stretchy cord, double-knotting and a dab of glue can prevent embarrassing bracelet malfunctions.
Opening and closing a jump ring the right way (twist, don’t pull) seems trivial, but it’s one of those things that separates amateur and pro. It keeps the metal strong and your pieces secure. Looping beads, making wrapped wire links, setting basic pendants—these are all foundational moves you can pick up with a little practice. Once you’re confident, try branching into techniques like macramé, using resin molds, or even dabbling in metal stamping or polymer clay work.
One quirky fact: some hobbyists create entire “bead soups”—random bead mixes from leftover projects. Sometimes, grabbing a spoonful of these and seeing what design emerges leads to the most unexpected and creative pieces. The mistakes and mess-ups? They often teach you far more than the victories.
Tips, Troubleshooting, and Creative Inspiration
Every beginner faces a handful of bumps along the jewelry journey. The most common mistakes? Using poor-quality wire (which leads to tarnished, floppy designs), skipping the test-pull on a finished bracelet (hello, beads all over your kitchen floor), and not prepping your workspace. Always clear a spot, lay down a mat, and keep a trash jar nearby for snipped wires and bits—nothing worse than stepping on a rogue headpin barefoot.
If your hands get tired, pause. Maya swears by a hand massage (she wrangles beads daily). Taking breaks not only saves your wrists, it keeps your brain fresh for better designs. And don’t be afraid to mix and match: coins, shells, broken brooches and keys all find new life in DIY jewelry.
Online, you’ll find thriving communities eager to help. The r/jewelrymaking subreddit, various Facebook groups, and Instagram hashtags can connect you with folks from all over the globe sharing their projects, troubleshooting disasters and celebrating the little wins, like a perfectly round loop after two hours of practice.
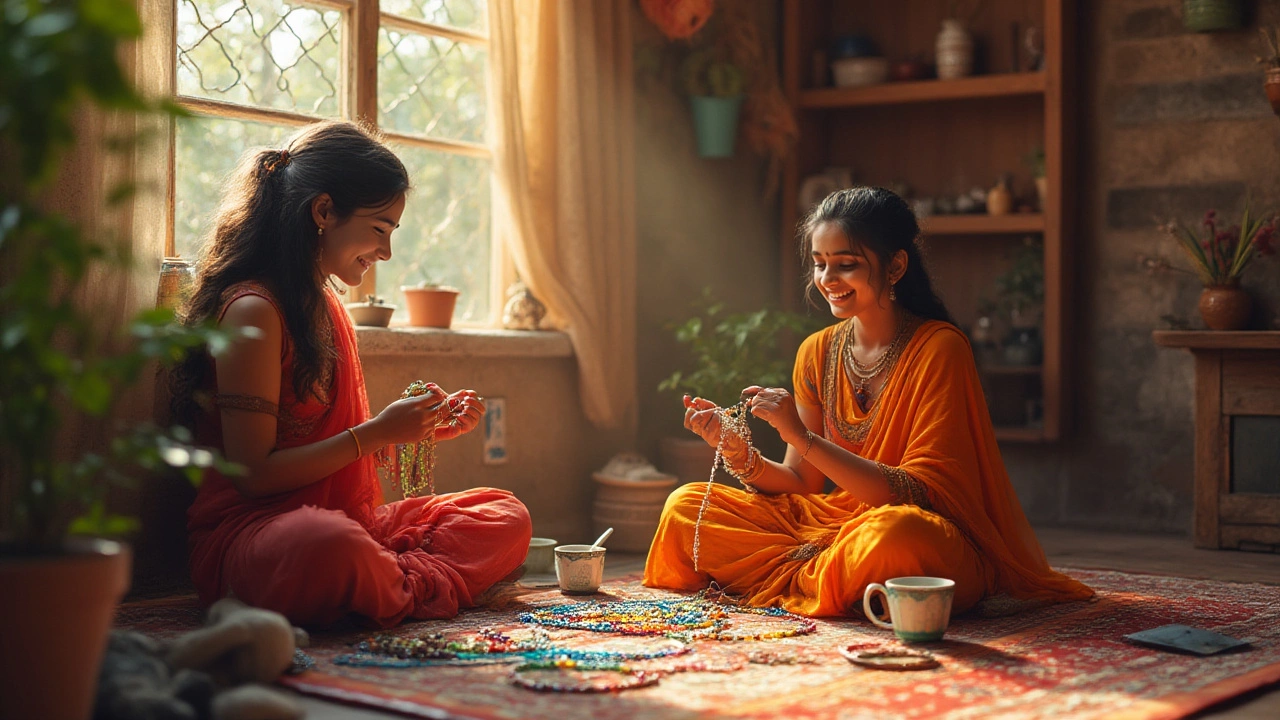
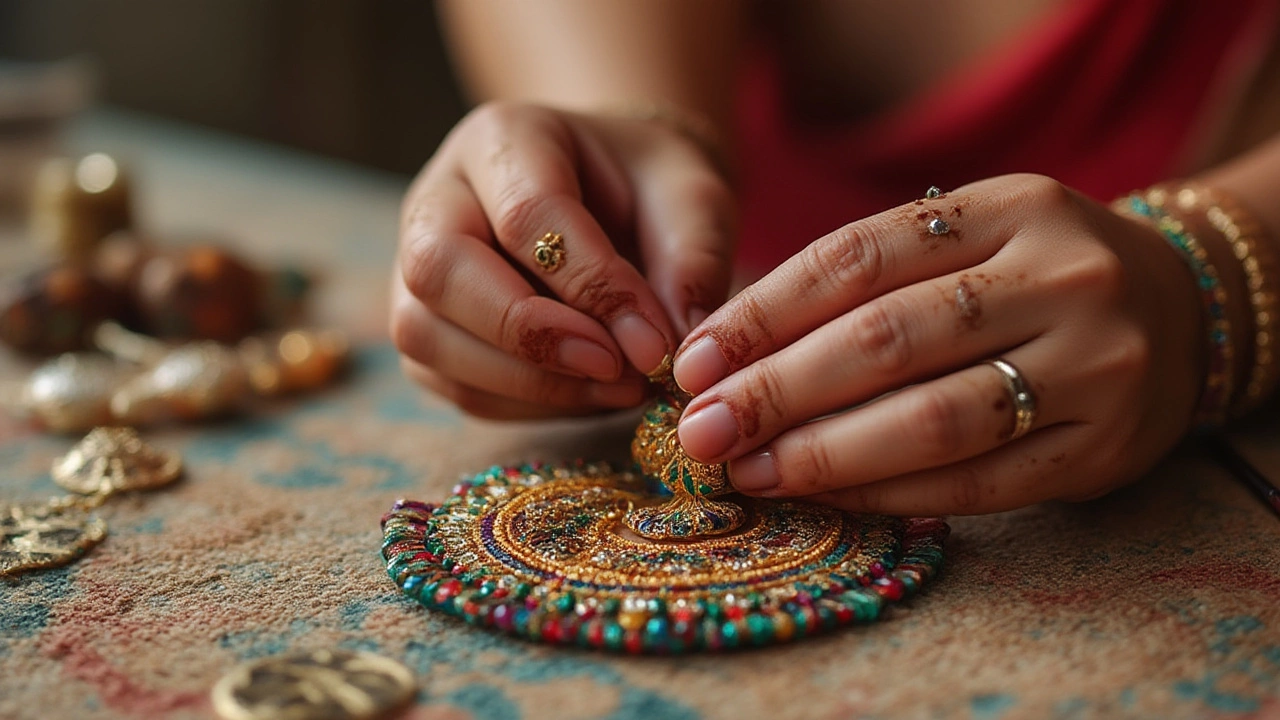
For inspiration, dive into world traditions: Japanese kumihimo braiding, Indian Kundan technique, African trade beads, or the simplicity of minimalist European chokers—each style brings new tricks and color combos. Designers like Betony Vernon or brands such as Alex and Ani started literally from dining-room experiments, so there’s no reason your living room can’t become a mini-studio.
One last tip? Photograph your finished pieces, even if you’re just making jewelry for yourself. Keeping progress shots or sharing your first wonky attempts with friends adds accountability—and it’s wild looking back a year later and seeing how far you’ve come. Don’t stress perfection; celebrate every little thing you make and wear it with pride. Trust me, that feeling when someone asks, “Did you make that?!” Never gets old.