Jump Rings: The Essential Connectors for DIY Jewelry
When you start a DIY jewelry project, jump rings are tiny metal loops that secure beads, charms, or clasps together. Also called ring connectors, they come in various gauges and finishes. To work with them effectively you’ll also need jewelry making tools such as pliers, cutters, and mandrels, the right metal wire gauge which determines the thickness and strength of the ring, and an understanding of metal types like brass, stainless steel, or gold‑filled that affect durability and color. Together these elements form the backbone of any beadwork or chain‑link design.
Choosing the Right Jump Ring
Picking the correct size is more than a guess – it’s about matching the jump rings to the components you’ll join. The gauge tells you how thick the metal is; a 20‑gauge ring works well for delicate pearl strands, while a 12‑gauge loop suits heavy stones or chunky charms. Diameter matters too: a 3‑mm ring fits snugly around a 5‑mm bead, whereas a 6‑mm loop gives room for larger pendants. When the size and gauge align, your pieces stay secure without wobbling.
Material choice directly influences wear life. Brass jump rings are affordable and take a bright polish, but they can tarnish in humid climates. Stainless steel resists rust and is ideal for everyday pieces, though it’s tougher to open with standard pliers. Gold‑filled rings add a luxurious look and are hypoallergenic, perfect for sensitive skin. Knowing which metal suits the intended use saves you from swapping out broken rings later.
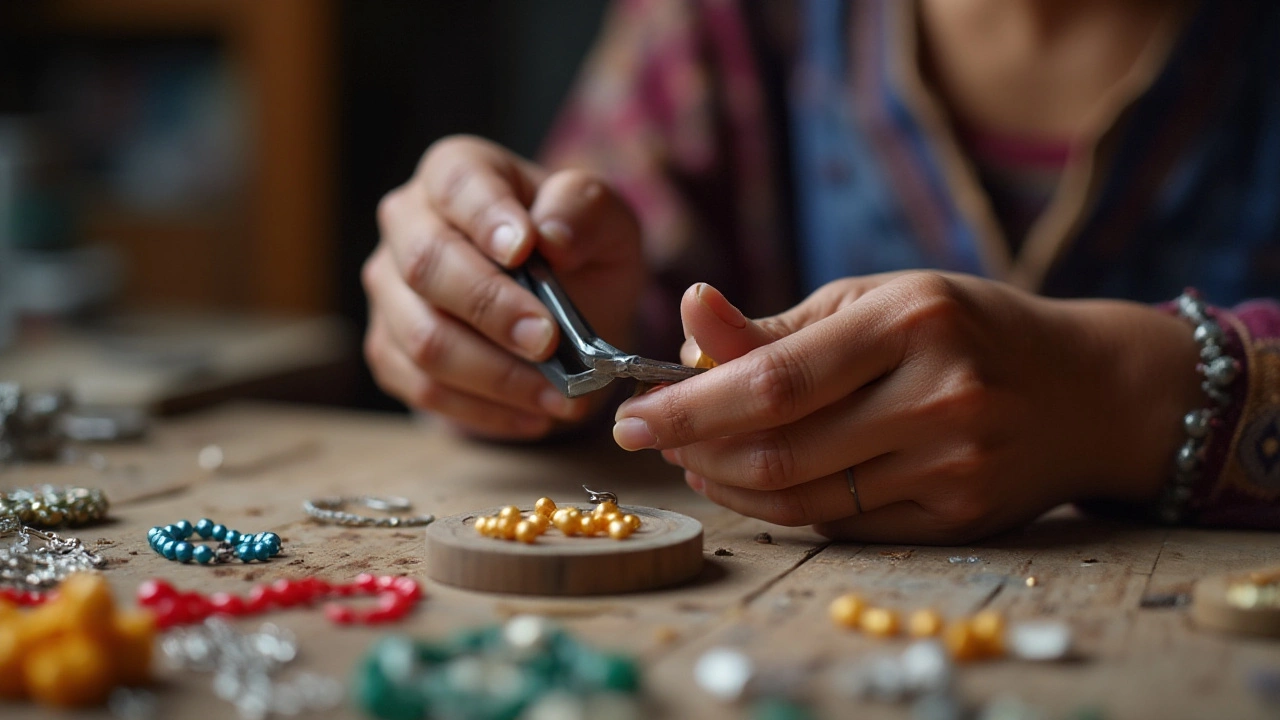
Even the best rings need the right tools. Flat‑nose pliers give you leverage to open a ring without stretching it, while round‑nose pliers help you close it neatly. Wire cutters trim excess wire cleanly, and a mandrel lets you check ring diameter against a standard scale. Using the proper tool reduces the risk of flattening the loop, which can weaken the connection over time.
Opening and closing a jump ring is a small step that makes a big difference. Grip the ring at opposite points, twist gently rather than pulling apart, and watch the loop return to its original shape. A quick squeeze with flat‑nose pliers secures the ends; you’ll hear a faint snap that signals the ring is properly closed. This technique preserves the ring’s roundness and keeps the jewelry looking polished.
Common mistakes include using a ring that’s too thin for the weight of the piece, or choosing a metal that reacts with skin oils. A thin brass loop holding a hefty crystal will bend, while a nickel‑based alloy may cause irritation for some wearers. Checking the ring’s load capacity—usually listed by gauge—helps you avoid premature breakage.
Finish matters for style coordination. Polished brass shines under bright light, matte copper blends with boho looks, and black‑oxide coatings add an edgy vibe. Matching the ring’s finish to the other hardware, like clasps and findings, creates a cohesive aesthetic. If you’re mixing metals, consider a mixed‑metal collection of jump rings so each piece harmonizes without clashing.
Maintenance is simple but often ignored. After a project, soak the rings in warm soapy water, rinse, and dry thoroughly to prevent corrosion. Store them in a zip‑lock bag or a small jewelry organizer to keep them from scratching each other. Regularly inspect for stretched loops, especially on pieces you wear frequently.
In 2025, designers are pushing jump rings beyond basic connectors. Layered chain necklaces use varied gauges to create texture, while modular bracelets rely on easy‑swap rings for mix‑and‑match fun. These trends show that even a small component can become a focal point when used creatively.
Now that you understand sizes, materials, tools, and care, you’re ready to dive into the articles below. Each post explores a specific angle—whether it’s the best pliers for opening rings, how to choose the right metal, or the latest style ideas—giving you practical tips you can apply right away.
