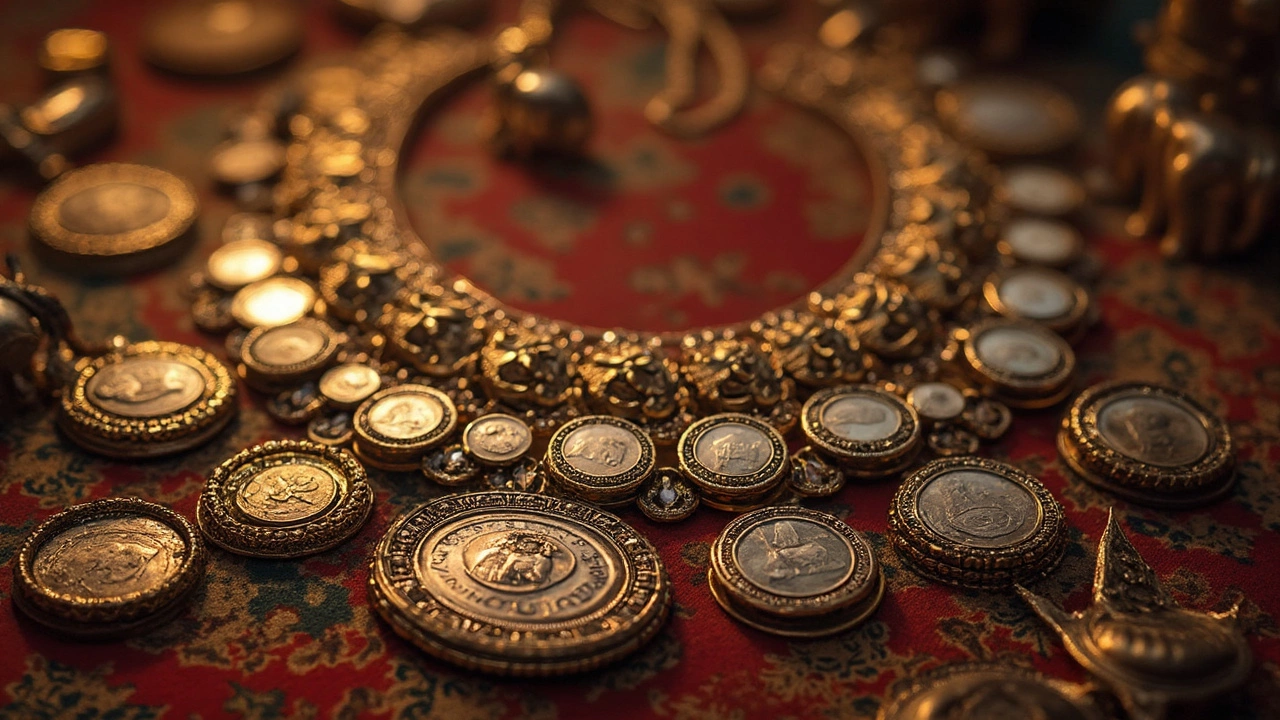
Ever wanted to wear that special coin as a necklace but cringed at the thought of drilling a hole through it? You're not alone. Thankfully, there are some pretty nifty ways to do this without bringing out the power tools.
One quick solution is a coin holder that acts as a protective frame around your coin. Coin holders are like ready-made picture frames for your currency, holding your treasure snug with zero damage. All you need is a chain or cord, and you’re set.
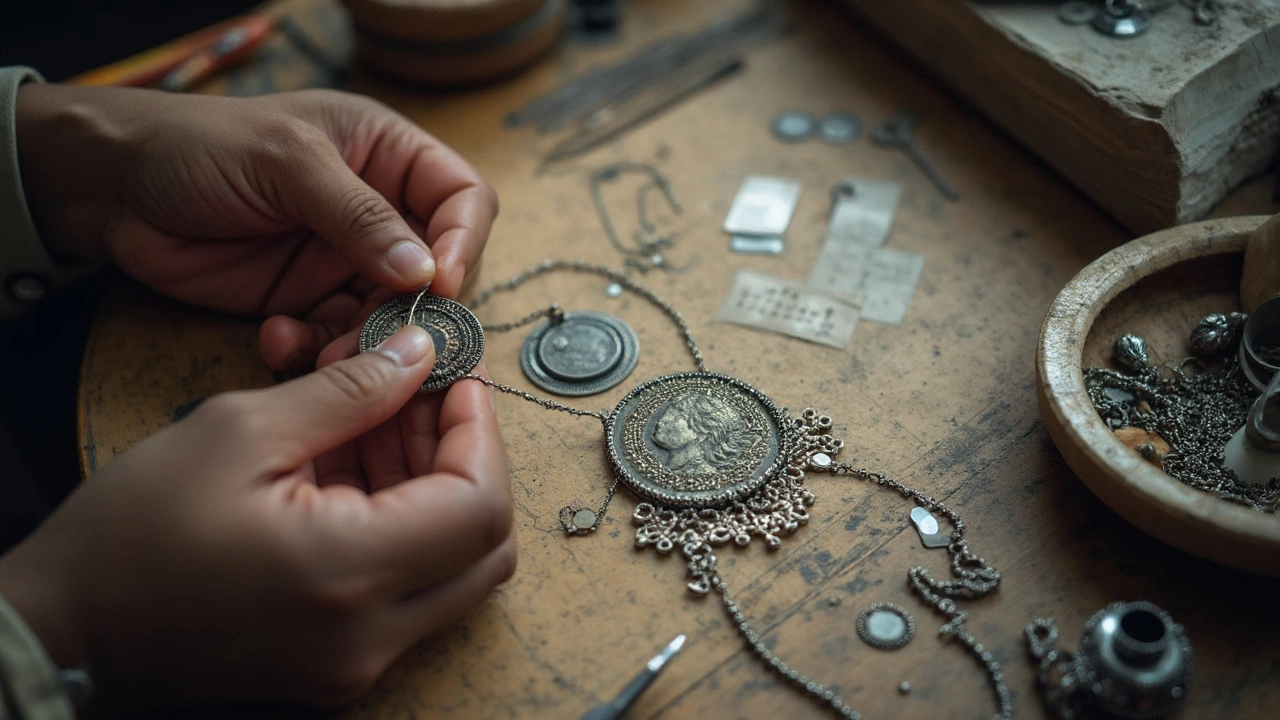
Another fun method is wire wrapping. It’s like creating a custom cradle for your coin with wire or metal thread. Not only does it keep the coin intact, but it also lets you get creative with designs. It's a bit of an art project, but the results can be totally worth it.
- Choosing the Right Coin Holder
- Easy Bezel Settings
- Creative Wire Wrapping
- Exploring Magnetic Options
Choosing the Right Coin Holder
When it comes to transforming your beloved coin into a stunning necklace, picking the right coin holder is a game-changer. It's all about ensuring your coin stays secure while looking snazzy.
Match the Size
The first step in selecting a coin necklace holder is knowing the size of your coin. Coin holders typically come in standard sizes—half-dollar, quarter, etc.— so having some knowledge of your coin's diameter can be a lifesaver. Measure it with a ruler or use a coin sizing conversion chart available online.
Holder Materials
Pay attention to materials, as they can impact both the look and durability of your necklace. Acrylic holders are lightweight and clear, making your coin visible, while a metal bezel adds class and robustness.
Avoiding Damage
Always look for holders that have a good internal fit. They should hold the coin tight without scratching it. Some coin holders feature protective padding which is essential for keeping your unique piece scratch-free.
Clip-On and Snap-In Styles
These styles are super popular for their simplicity. Clip-on holders let you attach the coin in seconds, and they lock securely around it. Snap-ins work similarly but often offer a tighter grip, perfect if you tend to be on the move.
| Holder Type | Pros | Cons |
|---|---|---|
| Clip-On | Easy to use, quick access | May not be as secure for frequent wear |
| Snap-In | Secure, suitable for active use | Might take longer to fit |
Choosing wisely not only saves your coin from drilling damage but also helps you wear your memory in style. Investing in a high-quality jewelry making kit that includes different holders can give you more flexibility and choices. Try different styles until you find one that complements both your coin and personal style.
Easy Bezel Settings
One popular method for turning coins into jewelry is the bezel setting: think of it as a tiny frame that embraces your coin without the need for drilling. This technique keeps your coin pristine and gives it a classy look.
Understanding Bezels
A bezel setting features a thin metal rim that wraps around the edge of the coin, securing it in place. It's common in both DIY and professional jewelry making because it combines simplicity and elegance. Unlike other settings, bezels hug the coin tightly without creating pressure points.
How to Choose Bezels
Start by selecting a bezel that matches the size of your coin. They come in various diameters, so measure your coin carefully. Opt for a bezel that complements the metal of your coin for a seamless look.
- Fixed bezels - They are more permanent and typically require tools to set the coin.
- Adjustable bezels - They let you switch out coins if you're the experimental type.
Setting the Coin
- Place the coin into the bezel frame.
- If you're using an adjustable bezel, gently press down to fit around the edges.
- For a fixed bezel, you might need a burnishing tool to secure the edges carefully.
This technique doesn’t just serve a functional purpose. Bezels protect coins from wear and tear while adding a touch of sophistication to your jewelry piece. Plus, with minimal materials and effort, your favorite coin can transform into a stunning necklace in no time!

Creative Wire Wrapping
So, you're intrigued by the idea of wire wrapping to turn that favorite coin into a dazzling piece of jewelry without a single scratch? It's all about turning a simple process into something truly artistic, and the results can be super rewarding.
Getting the Hang of It
First up, you'll want the right tools. A couple of must-haves include some round-nose pliers and different gauges of wire—say 20 to 24 gauge for flexibility and sturdiness. And, of course, your cherished coin.
Step-by-Step Guide
- Choose Your Wire: Opt for a wire that complements your coin's color—think silver for an antique look, or copper for that warm tone.
- Start the Base Wrap: Cut a lengthy piece of wire and start wrapping it tightly around the coin's edge. This is the frame that holds the coin in place.
- Create a Bail: Use the round-nose pliers to twist and loop the wire at the top. This acts as the bail, so you can easily string the coin onto a chain or cord.
- Add Decorative Touches: Let your creativity loose. Twist sections of the wire into swirls or loops, adding a touch of finesse to your coin necklace.
- Secure the Ends: Ensure the wire ends are snugly tightened to keep everything in place, avoiding loose wires.
Don’t worry if your first attempt looks a bit wonky. Like any art, practice makes perfect. The beauty of wire wrapping is the freedom to experiment and create a truly one-of-a-kind piece!
The Materials Matter
A quick note on wire types: If you get into this as a hobby, consider various wire materials like silver, gold-filled, or copper. Each offers a distinct look and feel that can dramatically change how your coin necklace turns out.
Once you get the hang of this DIY jewelry skill, you might find wire wrapping not just a technique but a whole new way to express your creativity. And who knows, maybe a new hobby?
Exploring Magnetic Options
If you’re on the lookout for a fuss-free way to turn a coin into a necklace, magnetic options might be the answer. These nifty methods don’t require any drilling and still let you showcase your favorite coin.
Magnetic Frames
Magnetic frames or holders work like a charm. These are two-piece holders with a strong magnetic connection that sandwiches your coin. It’s like a hug for your keepsake. Slip the coin in, let the magnets do the job, and attach it to a chain. It’s secure, and most importantly, doesn’t damage the coin.
DIY Magnetic Settings
Feeling crafty? You can make your own custom magnetic setting. Here’s a simple process:
- Gather Materials: You’ll need small but strong magnets, jewelry glue, and a necklace chain or cord.
- Attach Magnets: Glue a magnet to the back of the coin. Make sure it’s centered for balance.
- Create a Magnetic Backing: Glue another magnet to a flat pendant base or another secure surface attached to your necklace.
- Assemble: Once dried, snap the two magnets together with the coin in between. Easy peasy!
Important Considerations
When using magnets, there are some things to keep in mind. Coins made from certain metals might be naturally magnetic, so they might interact with the magnets differently. Also, consider safety; make sure the magnets don’t come in contact with anything they shouldn’t, like credit cards or medical devices.
Using magnetic options allows you to swap out coins as you please. Today it might be a treasured family heirloom, tomorrow a lucky penny found on a walk. It’s a flexible, non-damaging way to keep your coin necklace game strong!


